
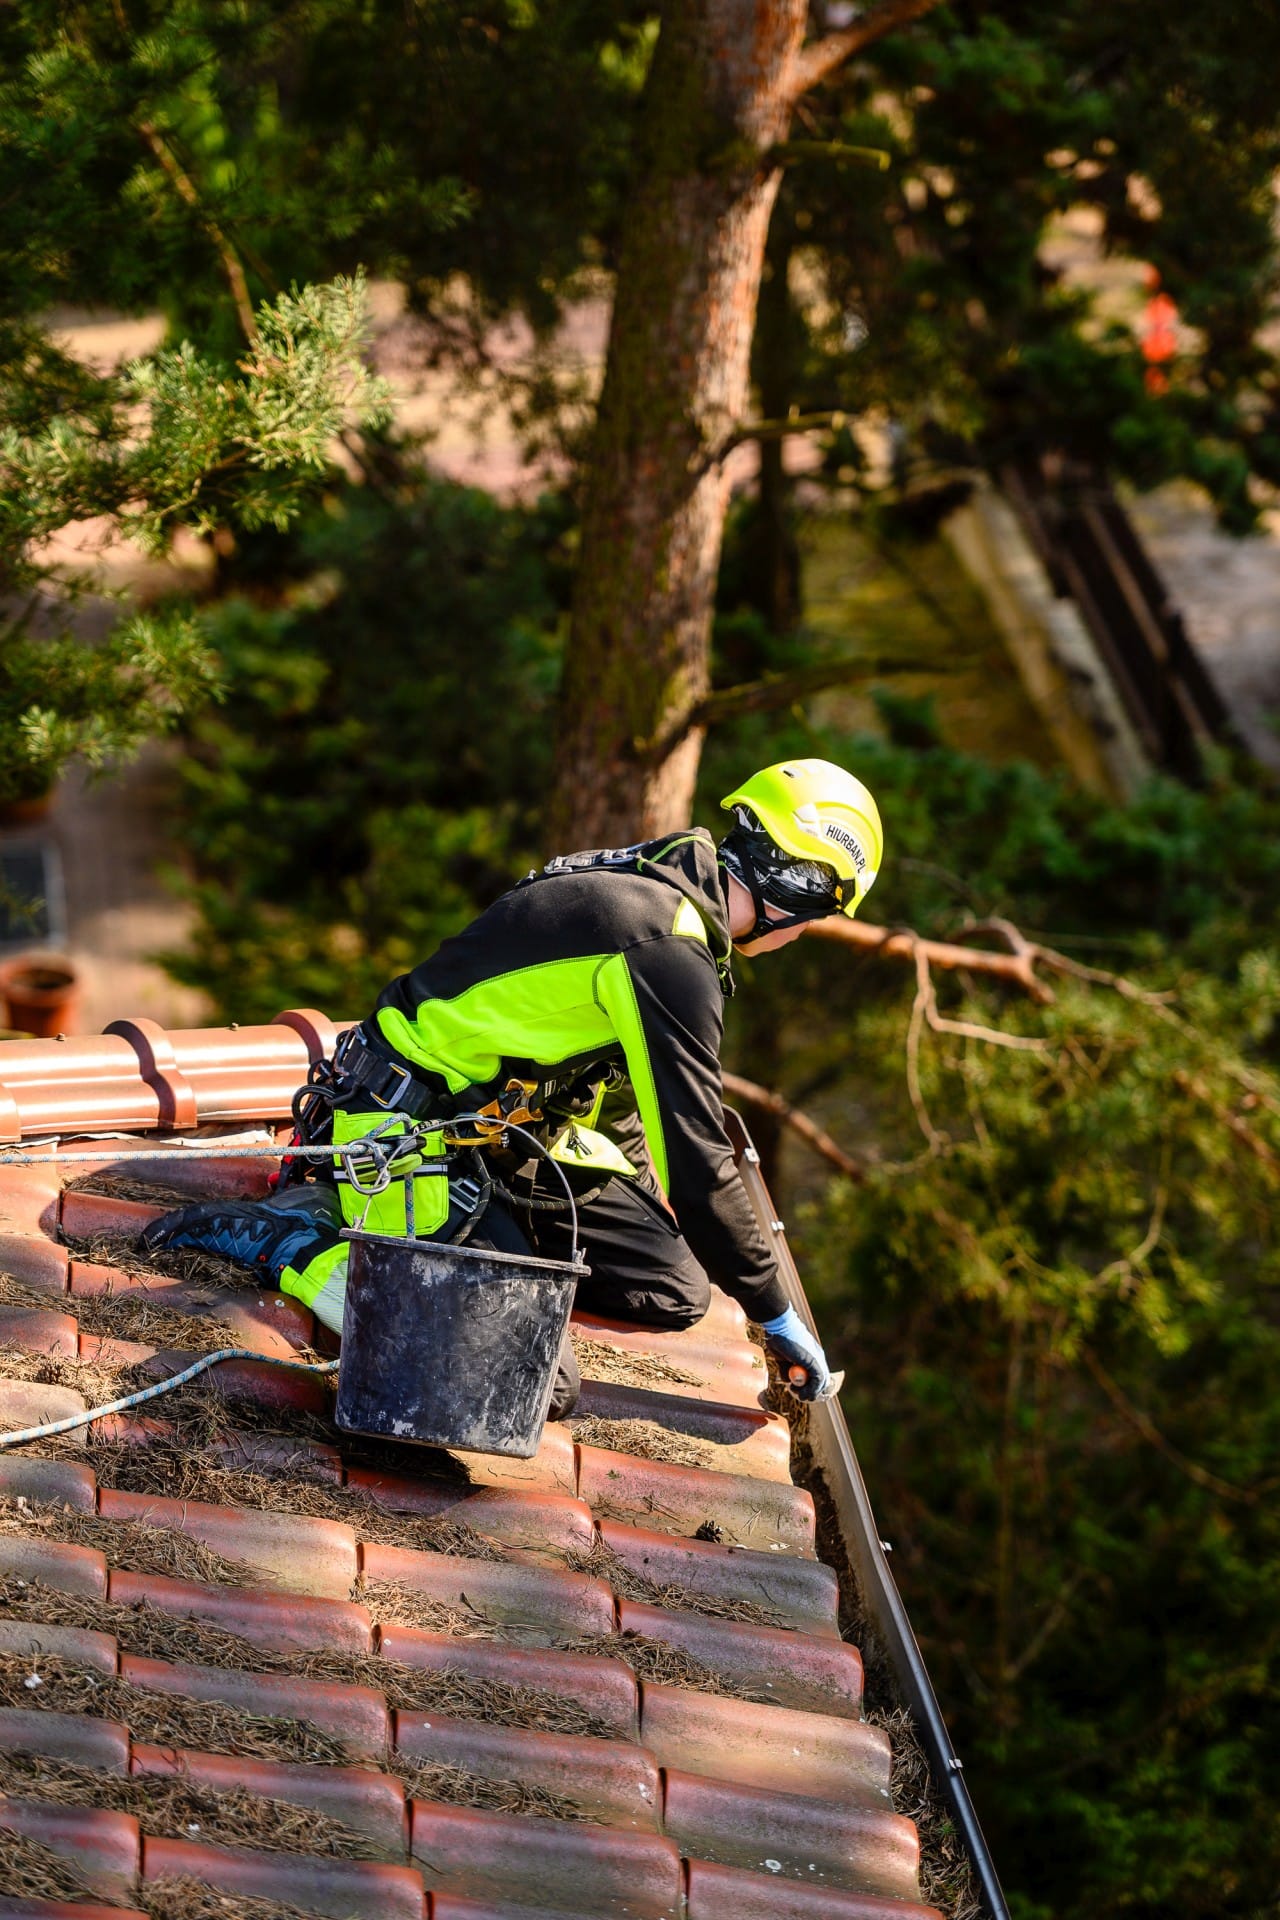
How to quickly locate and fix a roof leak? A practical guide
A roof leak is a problem that can catch even the most careful homeowners off guard. It happens that everything seems fine for years, and then after one storm, a wet stain appears on the ceiling. In that case, time is of the essence – the faster we locate and repair the leak, the less damage will be caused.
Why is quick reaction crucial?
Every hour that water has access to the interior of the roof structure increases the risk:
- Condensation in thermal insulation – it loses its properties, which leads to an increase in heating costs.
- The development of fungi and mold – they can spread throughout the house.
- Corrosion of metal components – fasteners, gutter hooks, nails.
- Deformations of the structure – the wood swells under the influence of moisture and loses its strength.
Step 1: Leak location
- Interior inspection – start from the attic or the top floor. Look for signs of moisture, mold, or discoloration on the joists.
- Tracking the path of the water – remember that water rarely drips exactly at the point of damage. Often it runs down the rafters or the roof foil.
- Checking the roof from the outside – preferably using a ladder or (safer) by a professional. Focus on:
- for connections near the chimney and roof windows,
- at the installation sites for antennas, PV panels and ventilation,
- roofing tiles and roof baskets.
- Use of a garden hose – controlled watering of the roof sections can help locate a leak (best in a duo: one person outside, the other inside observing).
Step 2: Immediate actions
If a leak has appeared during a rainstorm, it is not always possible to immediately carry out repairs.
- Secure the interior – spread the foil or tarp in the area where water collects.
- Limit the spread of moisture – set up buckets and sprinkle absorbent material (e.g. rags, paper towels) around the stain.
- Temporary sealing – if you have access to the roof, you can use special roofing tape, bitumen-based material, or foil.
Step 3: Permanent repair
- Replacing damaged roof tiles/sheets – it is crucial to choose identical material to maintain tightness and aesthetics.
- Repair of sheet metal cladding – especially around the chimney and roof windows.
- Supplementing the vapor barrier insulation – replacing a piece of membrane or felt.
- Checking the entire area – often one leak is a sign that other places are on the verge of failure.
DIY roof repairs may seem tempting, but a lack of experience, the right tools, and knowledge of roofing techniques often ends in the problem returning. The experts at Hi Urban perform comprehensive diagnostics and repairs, ensuring that the roof regains full tightness – for years, not just for a moment.